3D Printed Curta Part I
- Marcus Wu
- 3 dprinting , Curta
- April 21, 2015
The Backstory
I have been bitten by the 3D printing bug. I built a large (16"x16"x10") 3D printer and I have been enjoying printing replacement parts, prototypes, and toys. Among the useful items I have printed have been blocks that connect to duplo sized building blocks with wooden train track rails on top for my son, a product prototype for my brother, Peter, and a replacement center armrest latch for my VW Jetta.
I also have listed my printer on 3D Hubs (My printer is no longer listed for hire). I have printed many useful things for people including some prototypes, parts for other 3D printers, and even things intended to be sold.
One aspect I was not very interested in when I built my 3D printer was CAD, but now I am comfortable in a few different software suites. From the very beginning I challenged myself with tough projects. I designed a pneumatic flat-four boxer engine which is not complete yet; I did much of the work for the product prototype I mentioned for Peter; and I have made slight alterations to some of the models sent to me through 3D Hubs.
I have been working on another project with Peter which involved a number of mechanical counters. In the process of researching for that, Peter came across the Curta mechanical calculator . The device has a fascinating history and a design that is even more-so. Many mechanical calculators have been designed. The Curta was not the first or the last, but it is the most elegantly designed I have seen.
The Challenge
It did not take long after having seen the above video (made with the fantastic Curta Simulator named YACS ) before I desired to 3D print and build a Curta. I want one to play with, but they are expensive (they go for around $700 to more than $1000 on eBay). I am also enamored with the idea of doing all the work to build one myself. It’s like putting together a model airplane except I am also designing the parts for the model. To my knowledge this particular feat has not been done on a 3D printer before. The Curta disassembly page claims an astounding 605 parts. Many of those are repeated, but there are still around 150 unique parts that will have to be modeled.
Luckily, Olaf Veenstra who put together the YACS demo was able to direct me to the original Curta engineering drawings . Together with OnShape , I have been working on modeling everything I need to 3D print a Curta.
My 3D printer is nowhere near precise or accurate enough to print a 1:1 scale Curta. Instead I will be printing at about 4:1 (possibly a little bit larger than that if I come across anything that I need to print larger). Despite scaling it up 400%, the tolerances between mating parts are much too small for most 3D printers – even for some very expensive professional printers.
Update: I ended up printing at 3:1 scale instead of 4:1.
To combat these issues, I have designed and printed a mechanical fit test on my printer and have calculated what tolerances I need based off of that. I will alter the design from the original engineering drawings to accommodate the 3D printer’s abilities. I will also probably combine some parts that do not need to be separate parts with a 3D printer. After watching an assembly of a Curta , I realize I will not be able to accomplish anywhere near as smooth action. Despite that, I am optimistic that I will be able to pull off a working calculator.
The Progress
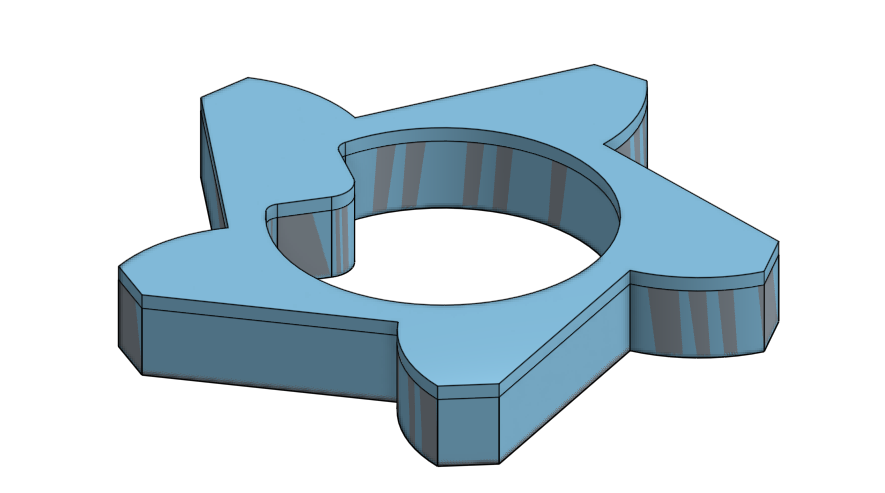
Below are a few screenshots and descriptions of parts I have modeled so far. I will probably wait to post about this project again until I have modeled all of the parts and have begun some test prints and assemblies.