Path to a custom low profile keyboard
- Marcus Wu
- Keyboards , Electronics
- October 20, 2024
This article contains Amazon Affiliates links.
Ever since my first Macbook Pro ages ago, I have found low profile keyboards to be my preference. When the custom mechanical keyboard market started taking off, I did not pay much attention to it because low profile keyboards mostly used membranes which wasn’t something that was easy to do modularly.
Recently a Micro Center opened up near me in Charlotte, NC. I decided to go visit near my birthday and my son quickly got very interested in the custom keyboard section. The idea of getting my kid into building or making anything quickly got me to put aside my preference for low profile keyboards and I decided to build my own keyboard. I landed on a Lily58 from typeractive.xyz . It was a fun build. I used Gateron Jupiter Red switches and a grayscale keycap set with Typeractive’s Lily58 boards, nice!nano, tenting feet, and their larger 750mAh battery. I designed a case that fit the larger battery and 3D printed that. I polished the 3D printed case by sanding it down to a 2000 grit so I could see the 3D printed nature of it without feeling the rough layer lines on the sides.

After building my Lily58, I got more curious about what other people were building so I joined the ErgoMechKeyboards and olkb subreddits. One post in particular stood out and inspired me: a post by dynam1keNL about the mikefive , a keyboard built using the Kailh PG1316 ultra low profile switches.
The keyboard and those switches got me interested because it connects the custom keyboard interest I had picked up back to the type of keyboards I have become interested in. I now saw an opportunity to be able to design and build a keyboard which could meet my love of a low profile keyboard to my newly found desire for a smaller custom ortholinear layout.
I ended up messaging dynam1keNL on reddit and eventually moving the discussion to Discord. dynam1keNL eventually shared the electronics footprint for the PG1316 switches he used and I got to work designing my own keyboards after watching an excellent video by Joe Scotto on keyboard PCB design in Kicad .
I didn’t end up designing just one keyboard. Only through a series of designs did I arrive at what I ultimately built. I’ll go through those keyboards here in chronological order as the ideas have evolved. I really wanted to be able to tent the keyboard to avoid wrist strain so I designed one with hinges with a center piece that contained the logic board. The two sides connect to the center using Flexible Flat Cable. The 3rd screenshot shows the max angle which is well beyond what anyone would actually use.


That design ended up to be expensive because of how many pieces would need to be machined. I then tried a wireless split design below. That design turned out to be a lot more monetarily feasible. The design would use a lot more battery since the right side needs to communicate to the left and then the left communicates with the computer. There are a few ways around that, and I may revisit this design later, but I ultimately decided to try other ideas.

Next, I went back to a hinged design and integrated the electronics into the left and right sides. I added the concept of being able to fold the keyboard in half to protect it during travel. Unfortunately, the increased height due to the hinge offset also increases the cost of CNC machining the parts so I decided to move on from this idea as well.


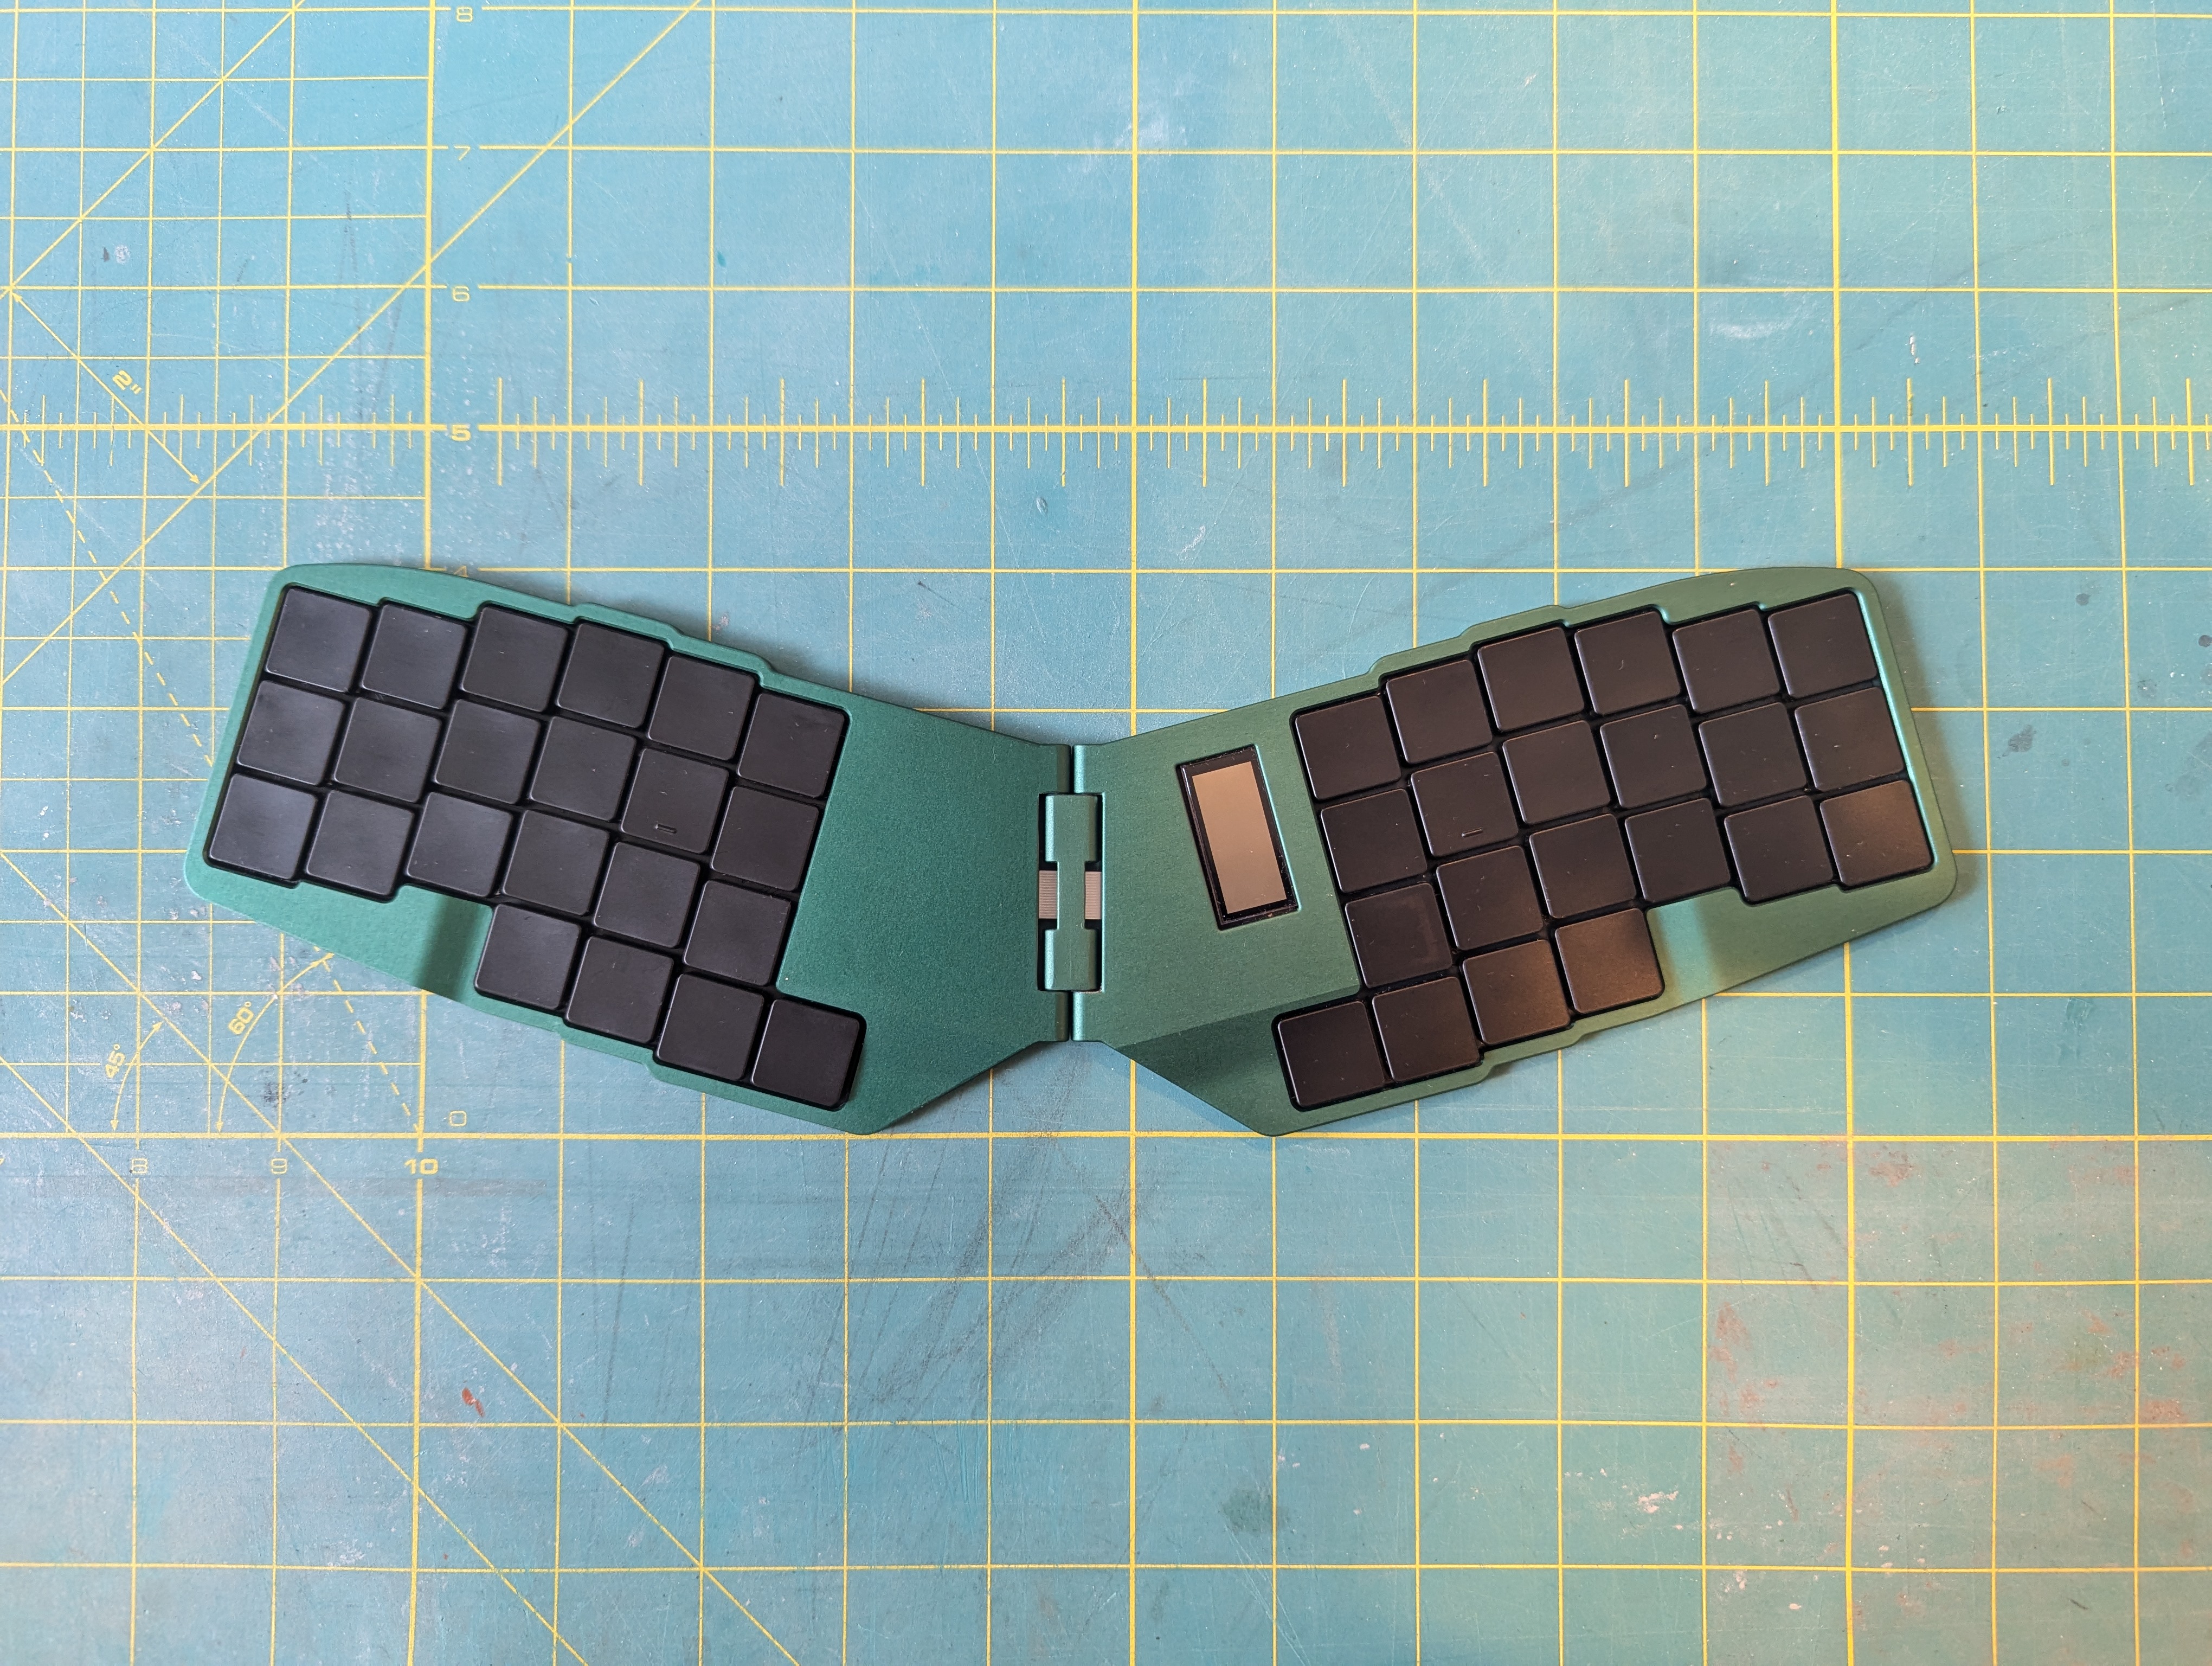
In my latest design, I realized I only really needed 3 rows on my keyboard. The firmware used in custom keyboards (QMK and ZMK are the most popular options) allows custom layers. Think of how shift changes what some of the keys do on a keyboard and you have the idea for layers. This would allow me to put the number row and symbols on a separate layer in order to reduce the number of keys I need.


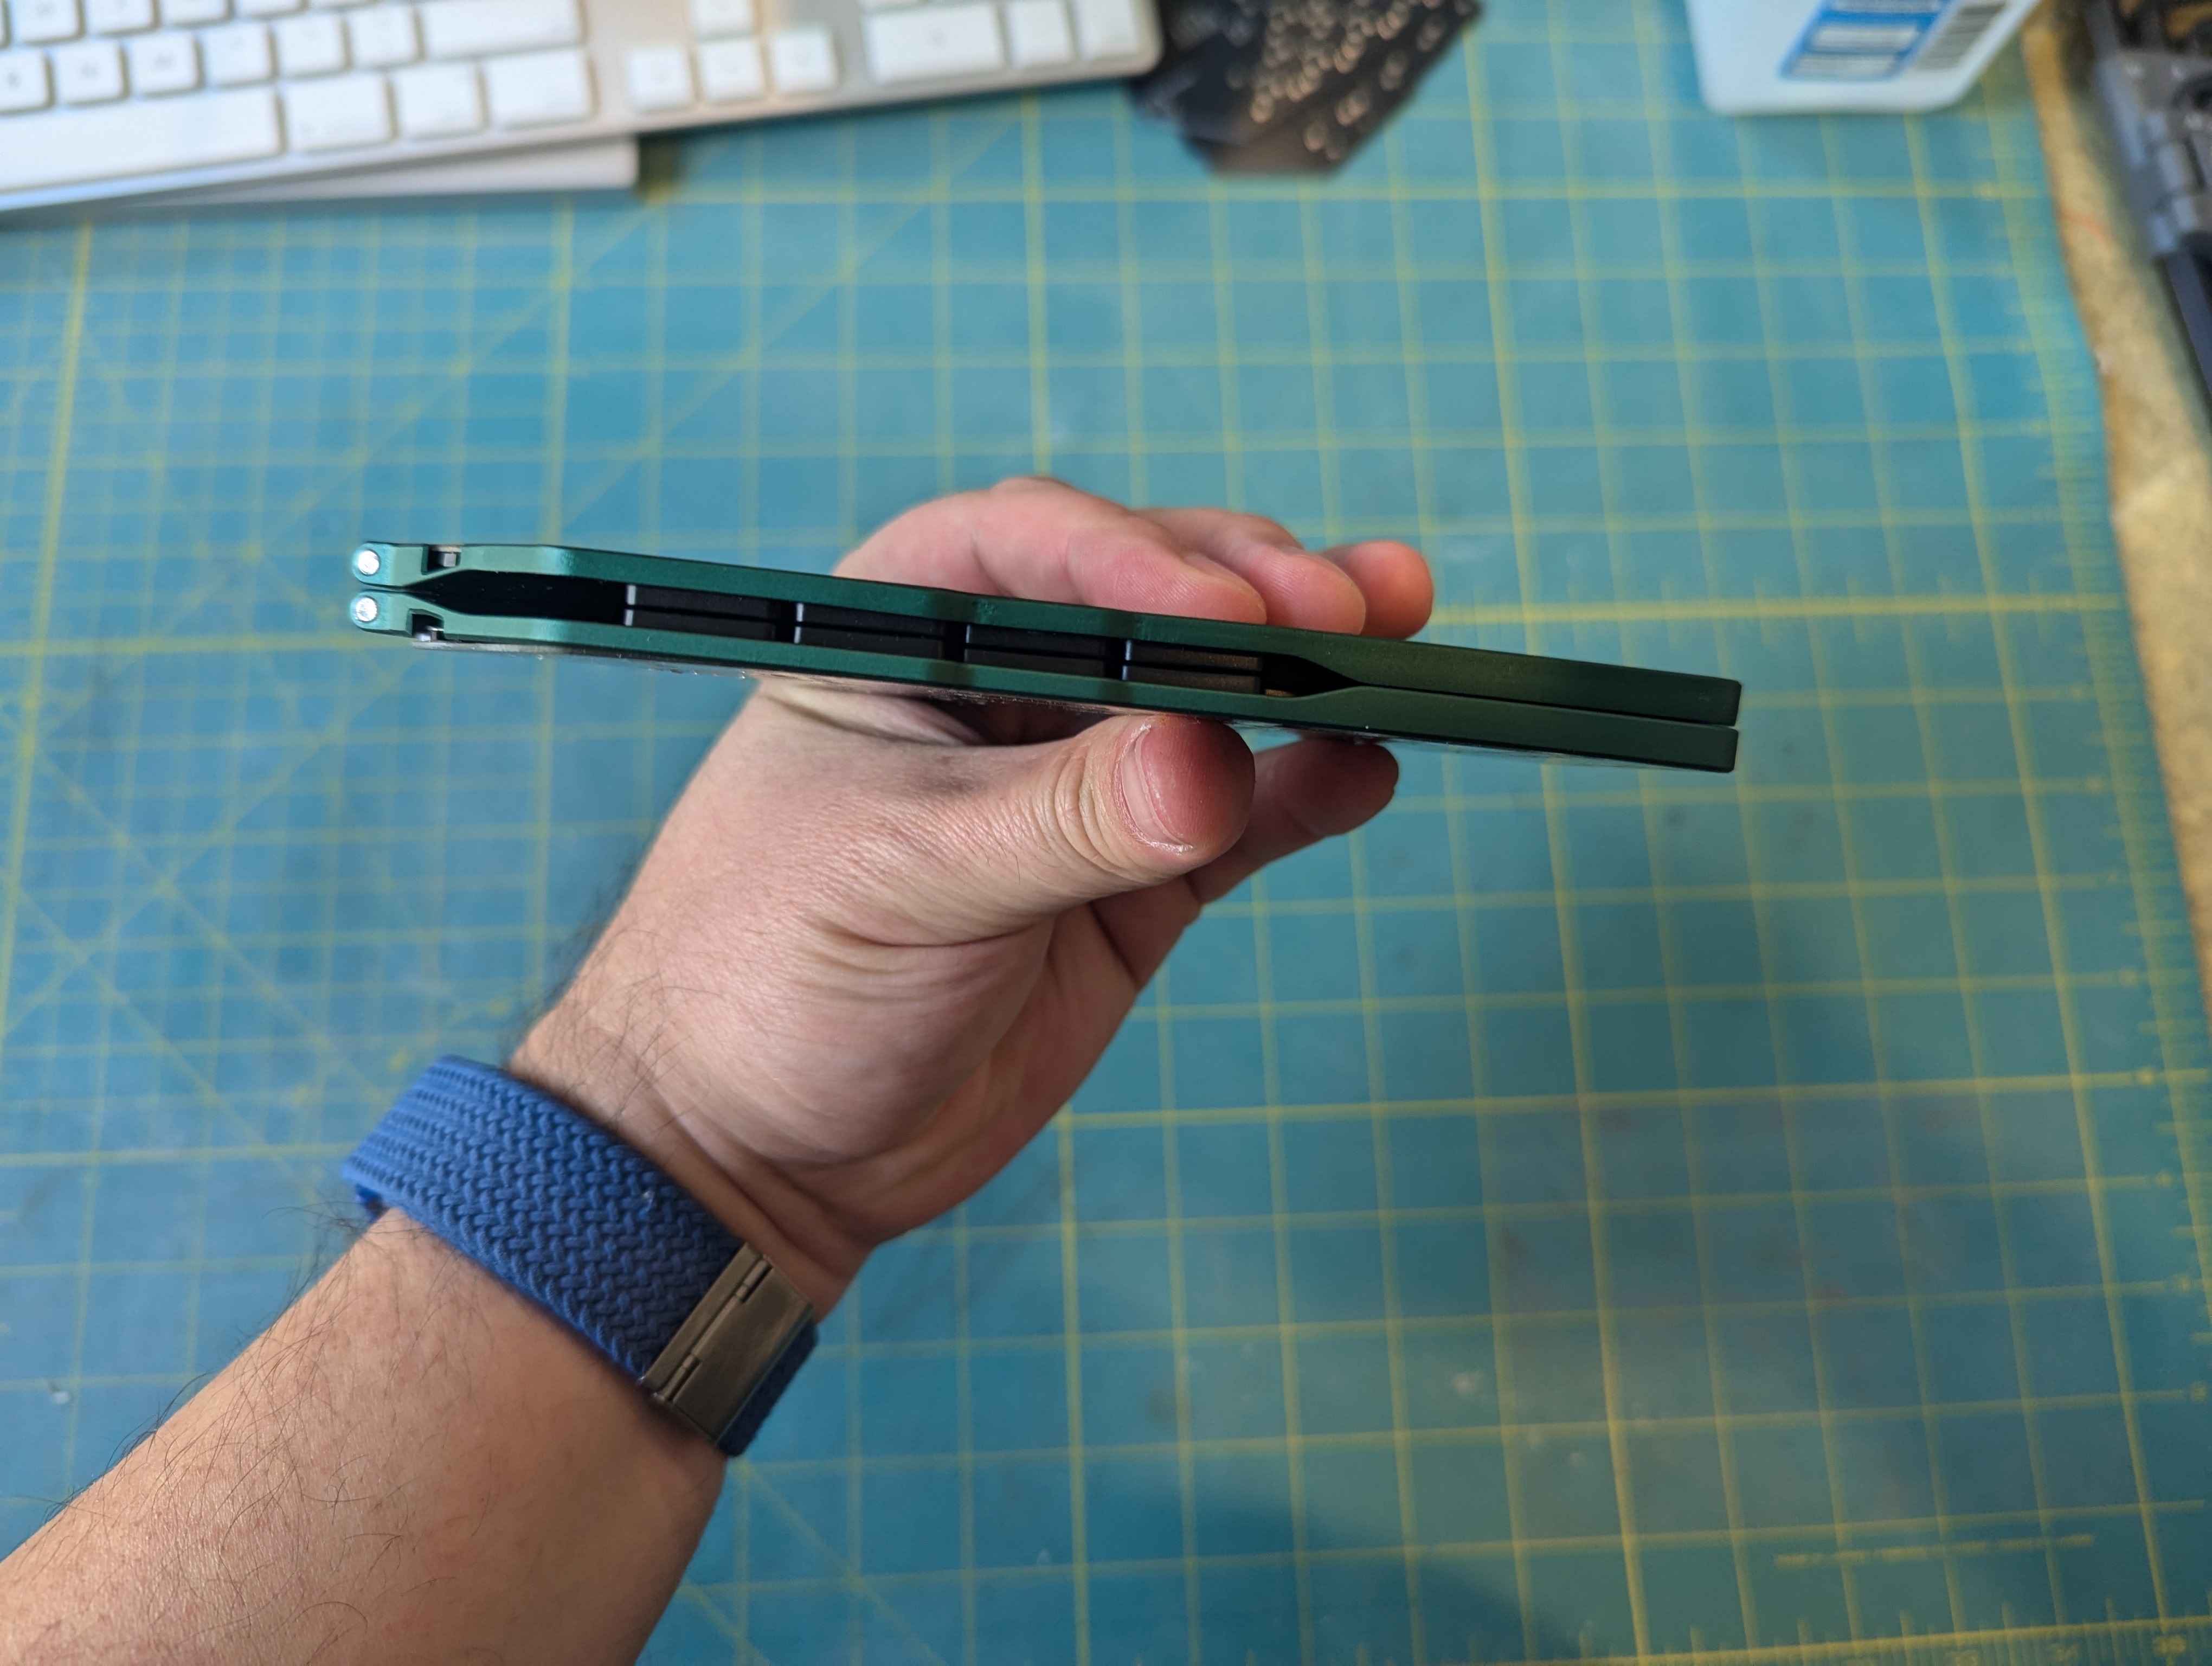
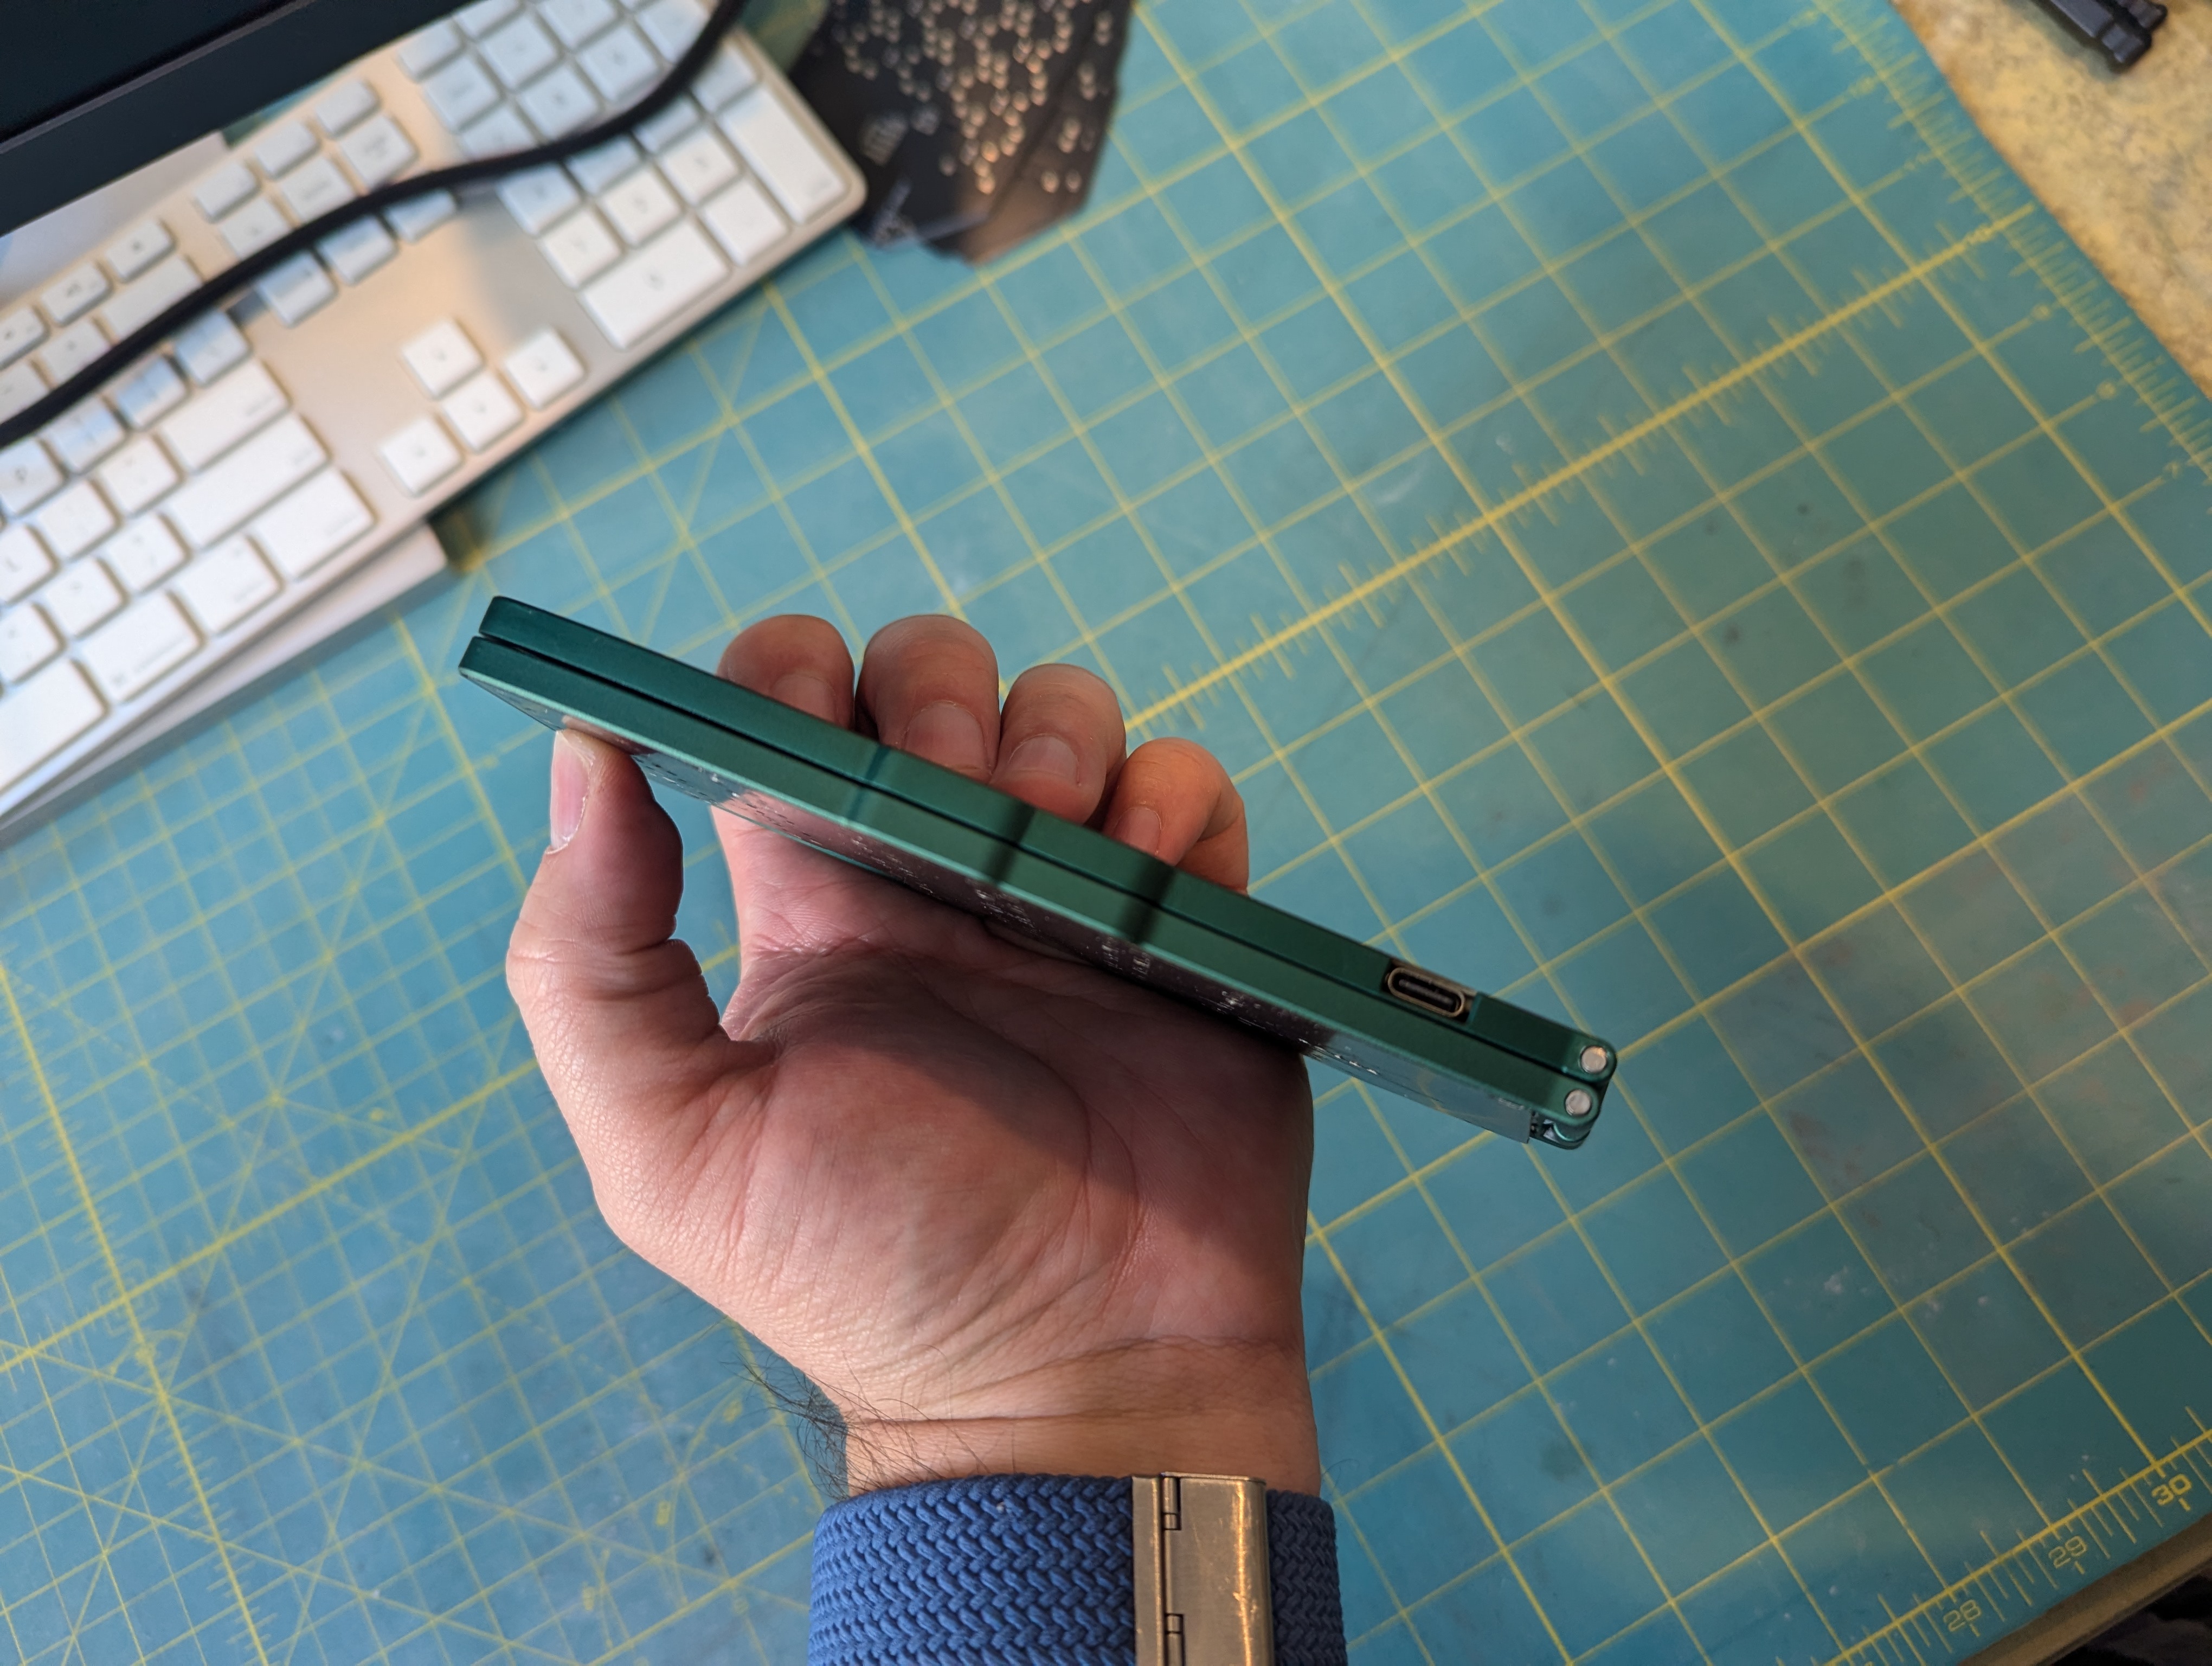
I also decided on a double hinge design so that the hinge no longer needs to be taller than the keyboard in order to reduce the CNC costs. In addition, more range of motion is possible out of the hinge this way allowing it to fold on itself in either direction for easy transport. This is the design that I ultimately decided to build. I have been calling it the Leaf Fold. If there is sufficient interest in the design, I may produce and sell a few.